
leave a message
If you are interested in our products and want to know more details,please leave a message here,we will reply you as soon as we can.
Water ingress is one of the leading causes of portable two-way radio failure. Whether the device is dropped into a puddle, caught in heavy rain, or fully submerged, the difference between salvageable damage and total loss often comes down to the first few minutes. This guide outlines a practical, step-by-step recovery process.
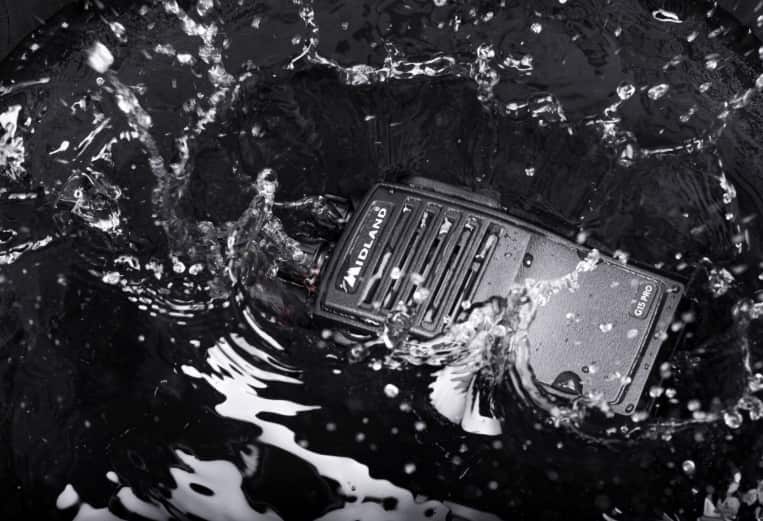
Step 1: Retrieve and power off immediately
Remove the radio from water as quickly as possible. Press and hold the power button to shut it down. Do not attempt to test if it still works while wet—pressing any key may trigger a short circuit. If the radio was transmitting at the moment of submersion, internal damage can occur almost instantly, but immediate shutdown still improves the odds.
Step 2: Remove the battery
For models with a detachable battery, take it out without delay. This cuts all power to the circuitry. For sealed‑unit radios with non‑removable batteries, keep the device powered off and proceed directly to drying. Never attempt to open a sealed case forcibly.
Step 3: Disassemble external parts
Remove the antenna, belt clip, battery cover, and any rubber port covers. Gently shake the radio to let visible water drain from speaker grilles, microphone holes, and button gaps. Hold the unit with the openings facing downward. Do not use compressed air—forcing air can push moisture deeper into delicate components.
Step 4: Dry the exterior
Wipe all surfaces with a soft, lint‑free cloth. Microfiber cloths work best. Avoid paper towels, napkins, or rough fabrics that shed fibers. Pay attention to charging contacts and battery terminals. Surface moisture removed at this stage reduces the risk of corrosion later.
Step 5: Air‑dry naturally
Place the disassembled radio and the battery (if removed) in a dry, well‑ventilated area. A low‑speed fan directed at the device helps accelerate evaporation. Allow at least 24 hours.
Do not use artificial heat—hair dryers, ovens, or heat guns. High temperatures can warp plastic housings, melt rubber seals, and damage lithium‑ion batteries, potentially causing fire or explosion.
Step 6: Use desiccant for thorough drying (recommended)
For better results, seal the radio and battery inside an airtight container with silica gel packs. Leave for 24 to 48 hours. Commercial desiccants absorb moisture far more effectively than uncooked rice, which also leaves dust and starch residues inside the device. If silica gel is unavailable, place the radio in a sealed bag with a few moisture‑absorbing pouches from packaging.
Step 7: Inspect and clean corrosion
After drying, examine the battery contacts, charging pins, and any exposed metal surfaces. Green or white powdery deposits indicate corrosion caused by electrolytic reaction. Use isopropyl alcohol (90% concentration or higher) applied with a foam‑tipped swab to clean these areas. Ensure the battery remains disconnected and the radio is off throughout cleaning. Do not use water or standard household cleaners.
Step 8: Test functionality
Reassemble the radio. Insert a fully charged, known‑good battery. Power on and perform basic checks:
- Receive audio (listen for static or a test transmission)
- Transmit to a paired radio
- Button response and indicator lights
- Charging function
If the radio does not power on, emits distorted sound, or behaves unpredictably, professional servicing is required. Internal short circuits or residual moisture on the main board are not user‑serviceable.
Prevention is better than recovery
Radios with an IP67 or IP68 rating can survive submersion up to specified depths. Models with no rating or only IP54 provide limited splash protection only. In wet environments, use waterproof pouches, silicone skins, or consider upgrading to a higher‑rated device. Water damage typically voids warranties for non‑rated radios.
Final word
Quick power‑down, battery removal, thorough air drying, and corrosion cleaning give your walkie‑talkie the best chance of survival. However, no post‑damage method guarantees full recovery. Investing in proper protection remains the most reliable strategy.



 IPv6 network supported

 Get a Quote